Underlayment Installation Guide
Underlayment plays an integral role in your flooring. It is a thin layer of material often made from foam, felt or rubber that helps protect the floor covering from minor defects in the subfloor. Not all underlayments are equal. A premium underlayment provides many benefits, including better acoustics, insulation and moisture protection to ensure the longevity of your flooring. You can hear and feel the difference between a premium underlayment and a value-grade underlayment.
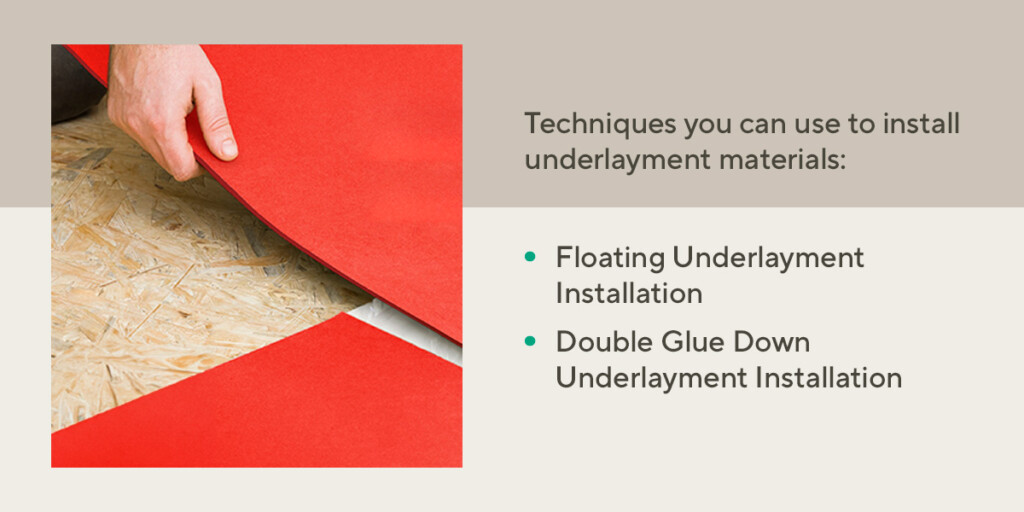
There are different types of underlayments for each kind of flooring. The underlayment you choose and the method you use to install it will depend on whether you have laminate, wood, vinyl, or tile floors. This guide will look at the techniques used for underlayment installations.
Preparations for Installing Underlayment on Subfloor
Before laying down your underlayment, ensure the subfloor is level, structurally sound, and clean of debris or dust. Check for protruding nails and defects in the subfloor, including large cracks, uneven surfaces and excessive amounts of moisture. You’ll start by removing the existing flooring in the room, if there is any. Gather the following tools and materials to remove your flooring and prepare your subfloor:
- Hammer
- Chisel
- Pry bar
- Utility knife
- Tape measure
- Broom
- Vacuum cleaner
- Metal scraper
A hammer and chisel will help you break through tiles. You can use a pry bar to lift wood floors and a utility knife to cut through carpets. Slide a metal scraper under the flooring to loosen glue or staples.
Once you’ve removed the flooring, sweep the subfloor and vacuum up as much debris and dirt as possible. When you’re cleaning, inspect the subfloor for damage that needs to be repaired. Before installing your underlayment, take note of the following tips during your subfloor inspection:
- Check that the subfloor is flat and level.
- Dry the subfloor.
- If the subfloor is concrete, measure moisture levels and follow industry guidelines if levels are above the flooring manufacturer’s recommendations.
- Repair creaking areas of wooden subfloors.
- Inspect and repair any sagging areas.
- Replace or fill uneven areas or cracks with a leveling formula.
- Remove or fix any nails or screws sticking out.
- Replace rotting or damaged subfloor boards.
How to Install Underlayment
After preparing your subfloor, you can install your underlayment. There are various techniques you can use to install underlayment materials. For these techniques, install the underlayment in the opposite direction of your floor covering, which is the top layer of the floor you see and walk on.
Floating Underlayment Installation
The floating method is generally for laminate, engineered hardwood floors, vinyl and rigid core flooring. This method means none of the boards are attached to the subfloor. The planks or tiles interlock to create a single surface that rests on the underlayment. An underlayment is helpful for floating floors because the floor covering will expand and contract. The underlayment allows the flooring to move slightly during seasonal changes.
The installation of a floating floor follows these steps:
- Start in a corner and roll out your underlayment.
- Trim the roll so that two inches of the underlayment run up the wall.
- Move onto the next row and continue across the subfloor until the room is covered.
- You can use duct tape or seam tape to secure the edges and the sections where the underlayment connects. Some FloorMuffler® underlayments come with UltraSeal self-sealing lip and tape which can help you connect two sections of the underlayment.
Once you’ve installed your underlayment, you can install your floating floors. These floors come in a tongue and groove locking system that makes installing them simple. The floors need to expand and contract, so leave a 1/4-inch gap around the room’s perimeter. This gap is known as an expansion gap.
Double Glue Down Underlayment Installation
Double glue down installation is when the underlayment is adhered to the subfloor with an adhesive. The floor covering is then adhered to the underlayment, hence the double glue down.
When using this method, ensure that you use a suitable adhesive for the type of subfloor, underlayment and flooring. If you are installing over concrete, the moisture levels must follow the glue manufacturer’s recommendations.
Once your subfloor is ready, install your underlayment:
- Start by rolling out your underlayment on the first section of the subfloor where you plan to install the floor covering.
- Pull back the underlayment and apply the adhesive using a trowel, following the adhesive manufacturer’s recommendations.
- Allow the glue some time before laying the underlayment over it. Refer to the adhesive manufacturer’s instructions to determine how long you should let the adhesive cure before installing the underlayment. Carefully lay it without creating bubbles or wrinkles. Butt the seams together, leaving no gaps or overlaps.
- Roll the underlayment with a maximum 35-pound roller to fully bond the adhesive. First, roll in a north-south direction and then repeat in an east-west direction.
- Tape the seams of the underlayment together.
- Allow the glue to cure according to the manufacturer’s instructions, then apply the adhesive for the flooring on the underlayment.
- When you apply your flooring, ensure it is in full contact with the adhesive.
- Go over the flooring with a roller.
- Allow it to dry for at least 24 hours before you place furniture in the room.
Nail Down Underlayment Installations
Nail down installations are commonly used in hardwood flooring systems over plywood subfloors. For nail down installations, the underlayment is laid down the same way you would lay it down in a floating installation. The floor covering manufacturer should provide instructions as to how the planks will be nailed down. The floor covering should be installed over the underlayment and then nailed down as per the floor covering manufacturer’s instructions.
Considerations for Underlayment
Before you choose the underlayment for your floors, there are a few things you should consider. The first is the type of underlayment best suited for your flooring. Let’s look at the different types of FloorMuffler® underlayments appropriate for a range of floors:
- Laminate flooring, engineered flooring and hardwood: FloorMuffler® UltraSeal, FloorMuffler® UltraSeal HD, QuietCure™, ComboFoam®, Natura Elite™, FloorMuffler® Flex, and FloorMat™ FanFold
- Luxury vinyl planks and tiles: FloorMuffler® Encore and FloorMuffler® LVT
- Tile flooring: FloorMuffler® Flex
Another consideration when choosing an underlayment is the amount of sound reduction you hope to achieve. Underlayment acoustic properties help to reduce the noise traveling through your floors from objects dropping, footsteps and other everyday noises. Premium underlayment helps reduce these sounds and provides a quieter environment. Most acoustic underlayments have been tested and assigned an acoustic rating. The higher the acoustic rating, the better the underlayment is at reducing sound transfer.

Install Quality Underlayment With FloorMuffler®
Choosing the correct technique and type of underlayment is essential for protecting your floors and creating a comfortable space in your home. FloorMuffler offers a collection of premium underlayments that are easy to install and provide exceptional acoustic performance. You can find FloorMuffler underlayments in flooring retail stores, or you can find them online and in-store at The Home Depot. If you need help choosing the right underlayment for your next project, our customer support team will be happy to help. You can reach our customer support team by calling 855-440-1945 or emailing [email protected].